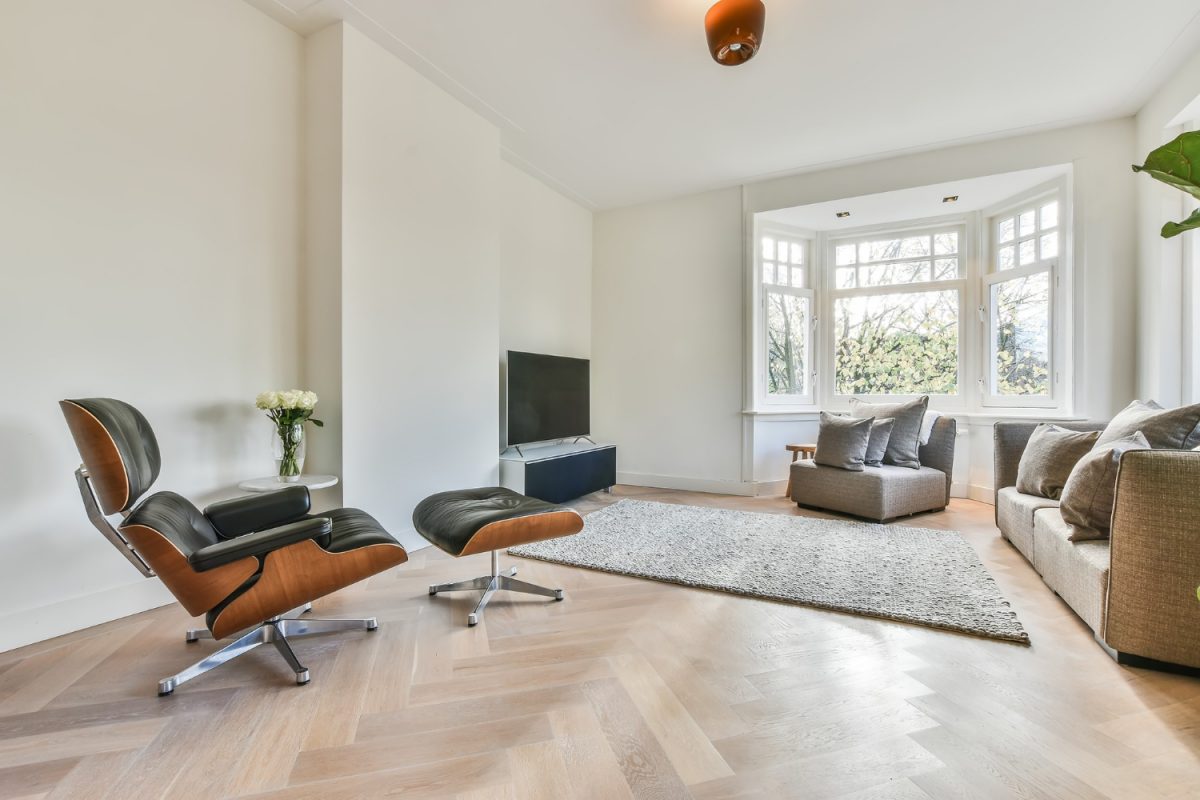
Natural light will enhance the appearance of your home and make it visually larger. Roof windows and skylights are the perfect tool to harness and direct sunlight. They can transform the darkest rooms into a beautiful, sunny space.
If you want as much sunlight as possible to come through your roof windows, you need to create a direct path for it. Windows facing east provide bright, inspiring light in the morning. If they face west, you can enjoy beautiful light in the late afternoon.
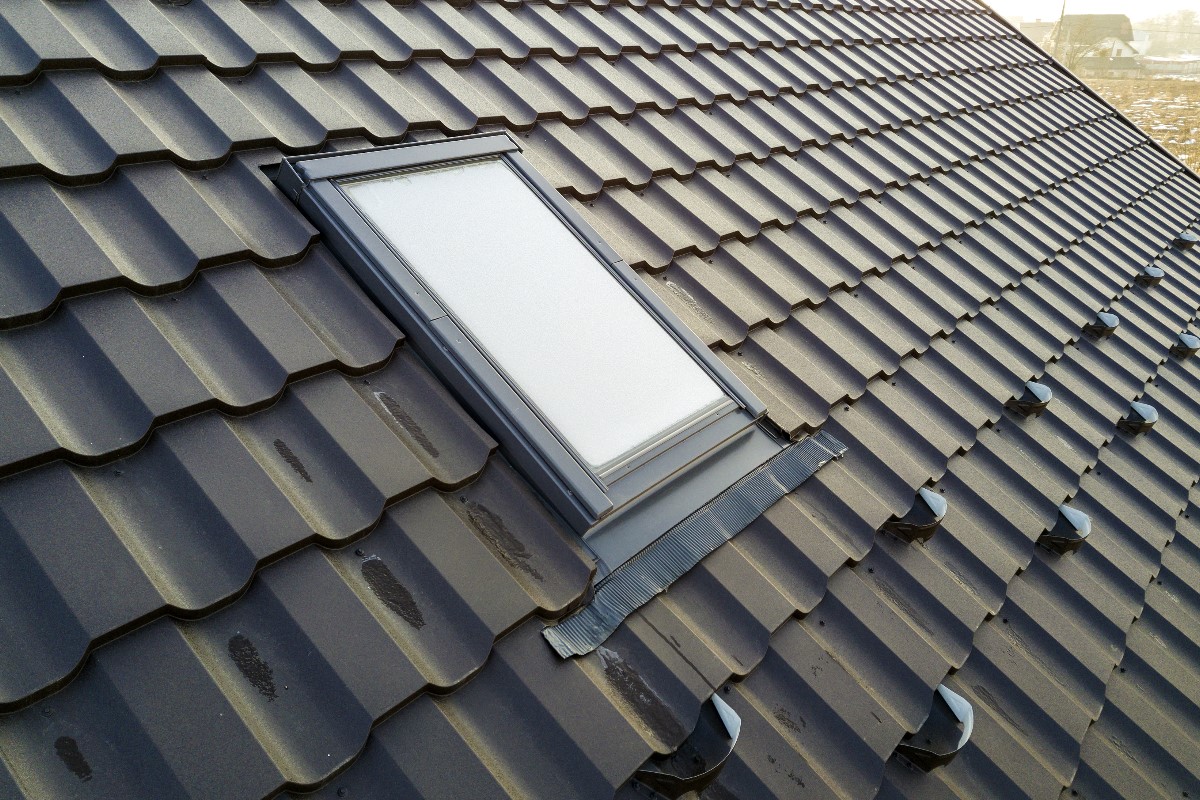
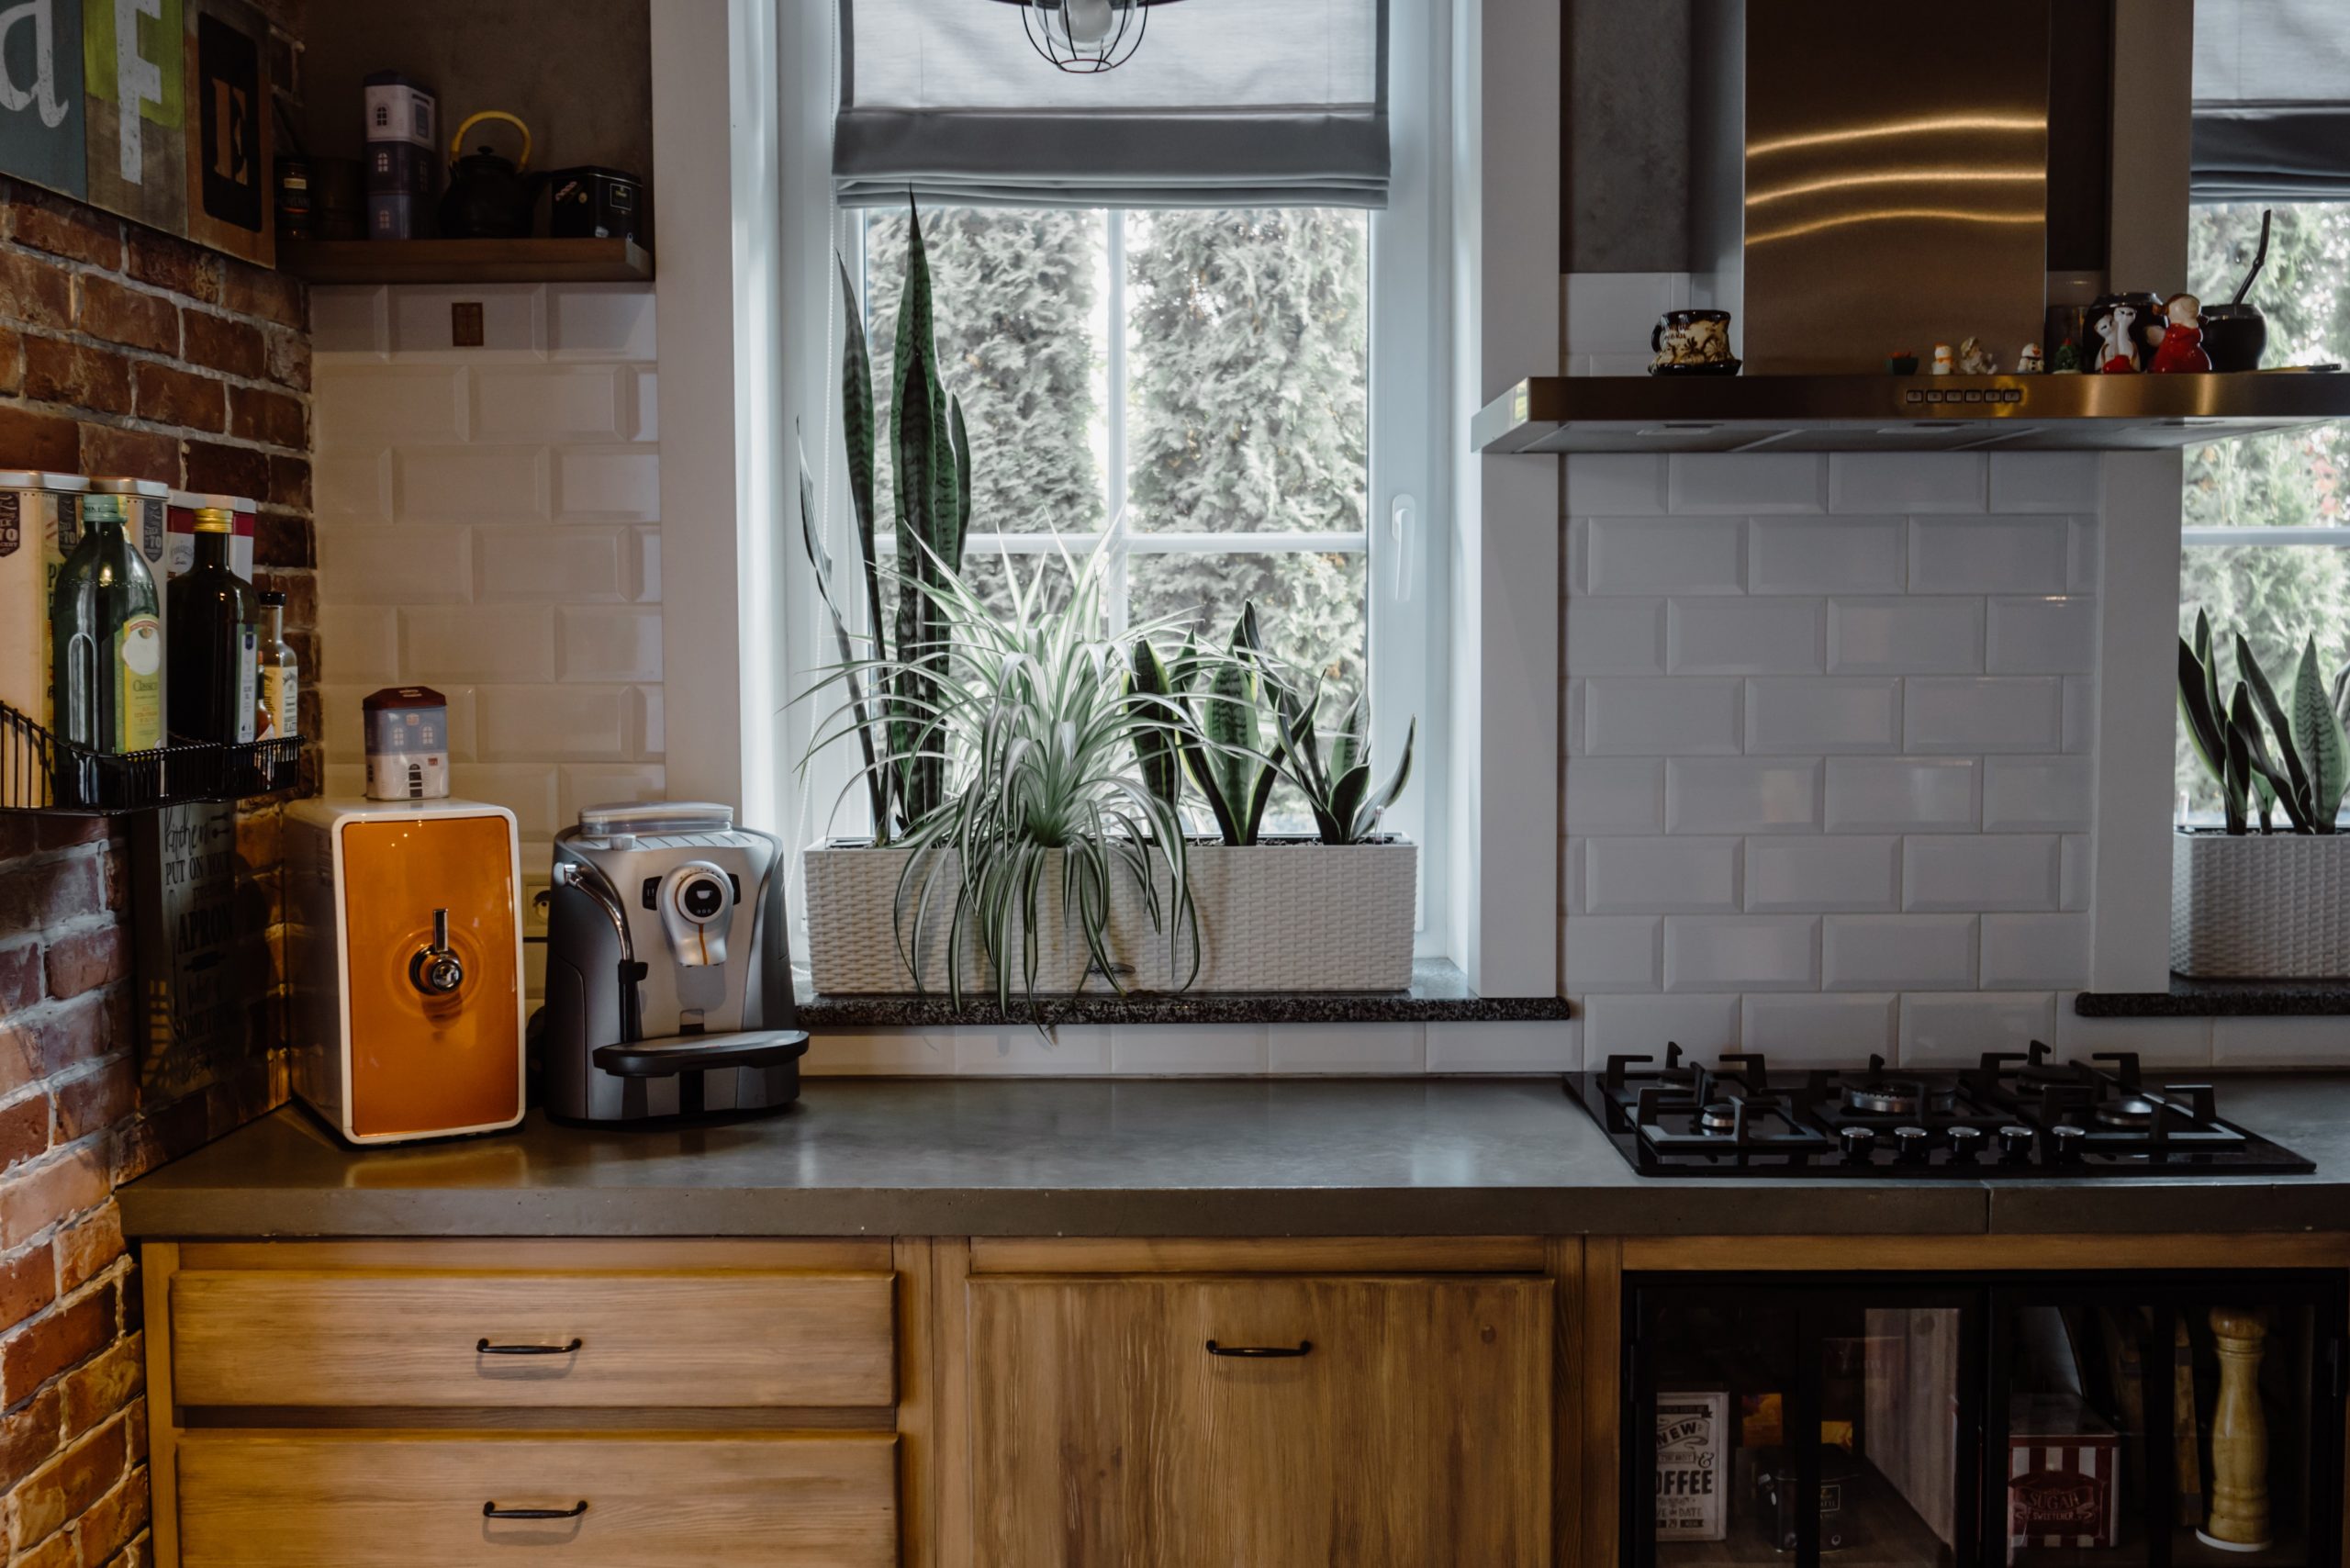
If you have a roof with a pitch of 0-15º, consider adding one or more skylights. They will work great in the kitchen, bathroom and living room.
Resizing a window opening is a complex, complicated task. It requires good carpentry skills
Before you start enlarging the roof window, put the attic in order. First mark on the rafters the approximate position required for the new opening. Now you need to mark the center of the window and remove the formwork to expose the tile
Remove the first tile or slate. Check that the area below the roof slope where you are working is fenced off. Make sure you can stand on something stable in case you lose a tile.
Continue removing tiles or slates until you have a suitable opening for access. Now cut the battens close to the side of the rafter. If necessary, cut the rafter at the top and bottom. Remove it with the battens to widen the opening
When removing tiles or slate, remove at least one additional row beyond the actual width up and on each side of the roof slope to leave yourself room for window flashing. Measure the overall height, then mark the top and bottom rafter positions
Cut out the rafters to expose the opening. Measure the height and width. Remember to check the pitch as well. Mark the position of any trim and filler rafters. Make sure all edges are even. Check that the opening is square. If not, you’ll have a lot of trouble installing the window.
Now remove the sash of the roof window from the frame. To do this, hold it upright firmly. Unlock the handle and partially open the window. Using a screwdriver, loosen the clamps where the telescopic arms are attached. Remove the cover
Insert one metal bracket into each of the four corner holes in the frame. Lightly drive a pin into the hole, preferably with a rubber mallet. Hold the brackets perpendicular to the frame. Pound them into the studded end with a hammer.
Lift the window frame into the roof opening and place it so that the metal studs are on the top and bottom battens. Check that you have seated it straight. Then nail or drill a hole in each bracket.
Once you have firmly seated the window frame, weatherproof it. Stand in the opening and insert the flashing. Start at the bottom flange. Follow the detailed instructions included with the kit.
Replace the tiles or slates that are on the sides of the window. If you need to trim them, use an electric angle grinder or a special trimmer. Put on gloves and safety glasses.
Now put the sash and top sash cover back in place. Lift the sash, holding it firmly at the top and bottom. Remember to put the window upside down and back to front. Then hold it and adjust it so that the two pivot mechanisms slide into the channel slot on the frame. Attach the telescopic arms to the top of the frame and slide the clamps back into place. You can now attach the top sash cover. Make sure you secure everything before you release the window.
At this point you can now adjust the sash with the aluminum key. You will find it in the attachment tool kit
The attic is often stuffy due to lack of ventilation. A few windows in the attic will improve airflow, reduce extreme heat and remove unpleasant odors. Additionally, roof windows will make the space more attractive. That is why it is worth installing them.